
Ice Cream Cone · Spring Blossom kinusaiga pattern
A triple-scoop ice cream cone with a cherry on top — a sweet summery project. This version uses the Spring Blossom palette of petal white, blush, pink.
Prints a real-size cut map with a 1-inch check, plus the fabric map and list on page 2.
Fabrics you need
| # | Color | Suggestion | Pieces | At 8 in |
|---|---|---|---|---|
| 1 | Petal white | 1 | about 8" × 8" | |
| 2 | Rose | 2 | about 3" × 3" | |
| 3 | Leaf green | 1 | about 3" × 3" | |
| 4 | Pink | 1 | about 3" × 3" | |
| 5 | White | 1 | about 3" × 3" | |
| 6 | Blush | 1 | about 2" × 2" |
How to make the Ice Cream Cone · Spring Blossom kinusaiga
-
Print and transfer
Print the cut map at your chosen size, tape it to a foam board and score each line about 1/8" (3 mm) deep, keeping the blade upright.
-
Cut your fabric
Match the 6 numbered colors to your fabrics. Cut each piece about 1/4" (6 mm) larger than its shape on every side.
-
Tuck the 7 pieces
Start with the background and work toward the front. Press the fabric edges into the grooves with a butter knife, seam ripper or tucking tool.
-
Finish and frame
Trim any loose threads, tuck the outer edge around the board and set it in a shadow box or a deep frame.
First time? The full kinusaiga tutorial covers groove depth, fabric choice and common mistakes, and the supplies guide lists everything you need.
More free kinusaiga patterns

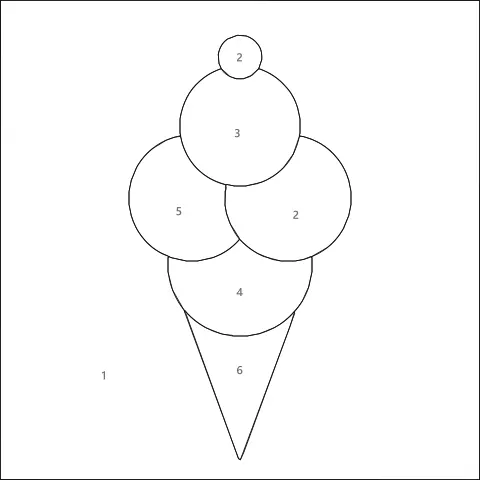
Ice Cream Cone · Retro Mustard

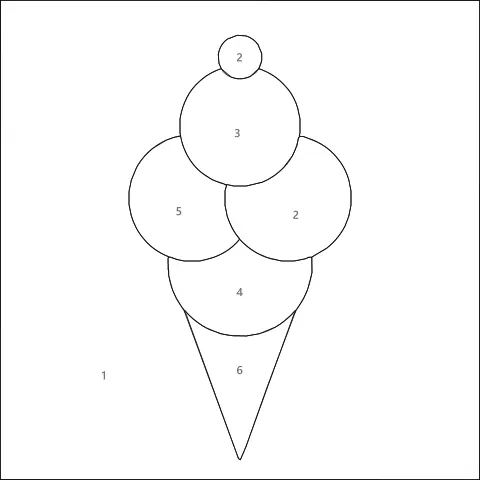
Ice Cream Cone · Berry Garden

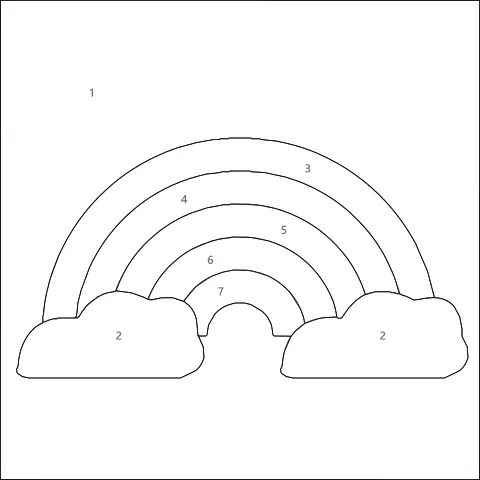
Rainbow · Spring Blossom

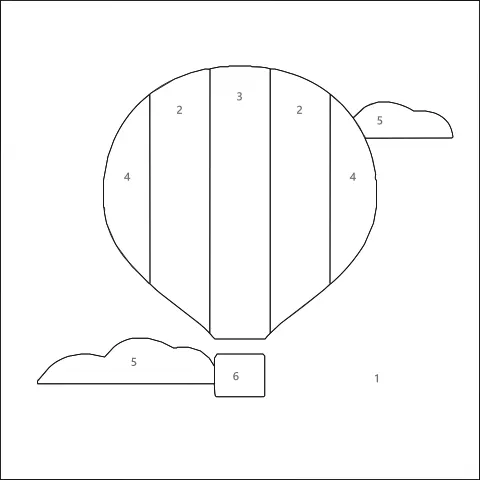
Balloon Ride · Ocean Breeze

Sunshine · Retro Mustard

Sailing Boat · Ocean Breeze


Space Rocket · Indigo & Vermilion

Little House · Retro Mustard
See all free patterns → Free Kids & Simple kinusaiga patterns make a pattern from your own photo