
Christmas Tree kinusaiga pattern
A three-tier Christmas tree with a gold star, red baubles and a full moon over the snow. Quick enough to make several as handmade holiday gifts.
Prints a real-size cut map with a 1-inch check, plus the fabric map and list on page 2.
Fabrics you need
| # | Color | Suggestion | Pieces | At 8 in |
|---|---|---|---|---|
| 1 | Midnight navy | 1 | about 7" × 7" | |
| 2 | Snow white | 2 | about 5" × 5" | |
| 3 | Forest green | 1 | about 3" × 3" | |
| 4 | Pine green | 1 | about 3" × 3" | |
| 5 | Bright green | 1 | about 2" × 2" | |
| 6 | Gold | 2 | about 2" × 2" | |
| 7 | Christmas red | 3 | about 2" × 2" | |
| 8 | Brown | 1 | about 1" × 1" |
How to make the Christmas Tree kinusaiga
-
Print and transfer
Print the cut map at your chosen size, tape it to a foam board and score each line about 1/8" (3 mm) deep, keeping the blade upright.
-
Cut your fabric
Match the 8 numbered colors to your fabrics. Cut each piece about 1/4" (6 mm) larger than its shape on every side.
-
Tuck the 12 pieces
Start with the background and work toward the front. Press the fabric edges into the grooves with a butter knife, seam ripper or tucking tool.
-
Finish and frame
Trim any loose threads, tuck the outer edge around the board and set it in a shadow box or a deep frame.
First time? The full kinusaiga tutorial covers groove depth, fabric choice and common mistakes, and the supplies guide lists everything you need.
More free kinusaiga patterns

Valentine Hearts · Spring Blossom
Autumn Leaves · Retro Mustard

Snowman Friend · Holiday Cheer

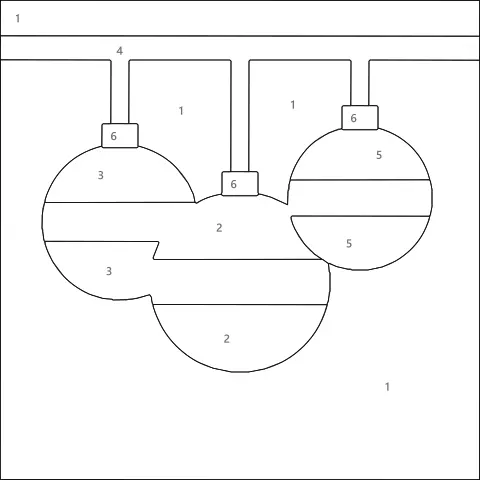
Christmas Ornaments · Winter Frost

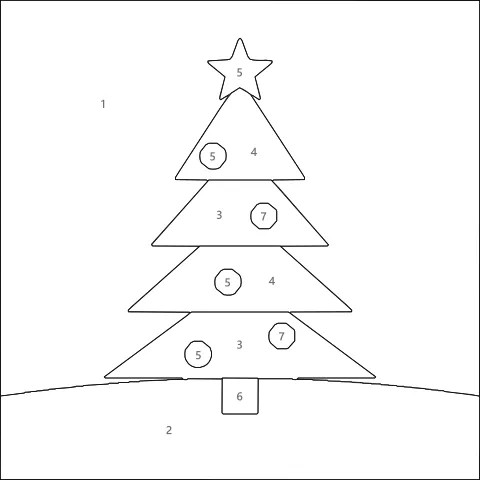
Holiday Tree · Winter Frost

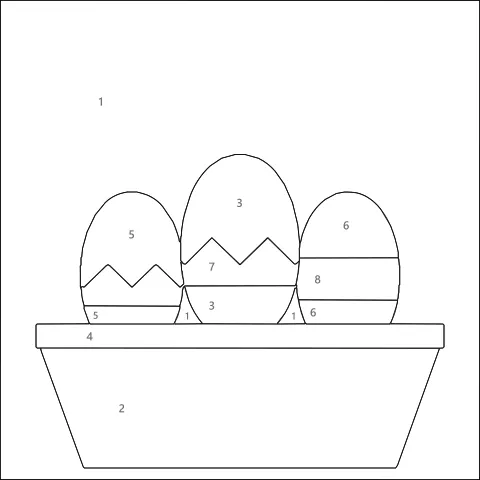
Easter Eggs · Lavender Field
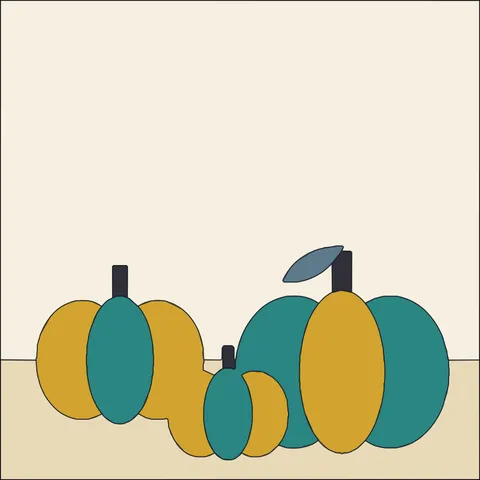
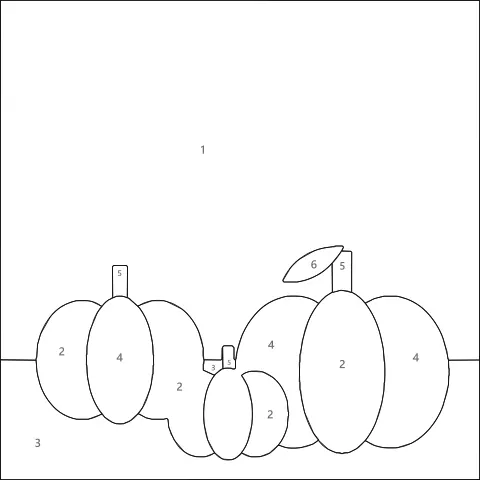
Pumpkin Patch · Retro Mustard

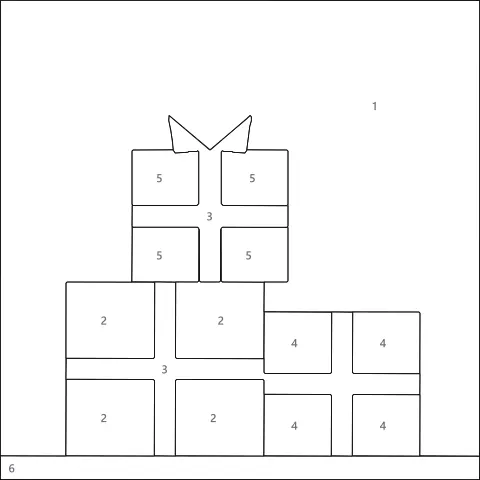
Gift Boxes · Berry Garden
See all free patterns → Free Seasonal kinusaiga patterns make a pattern from your own photo